Do you want to update your billing information, or change the email address or password for your Kiravo account? The process is simple and fast, directly from the client area.
Tutorial for changing billing information (client account details)
This guide shows you, step-by-step, how you can manage and modify your account information.
1. Log in to your Kiravo client account
To begin, access the Client Area from our website. Click the Login button and enter your credentials (email address and password).
You will receive a warning message if you enter the wrong email address or password.
Please contact us if you encounter any problems logging into your client account.

2. Access the Account Details Area
Once logged in, look for and click on the Account Details section in your account’s main menu on the left side.
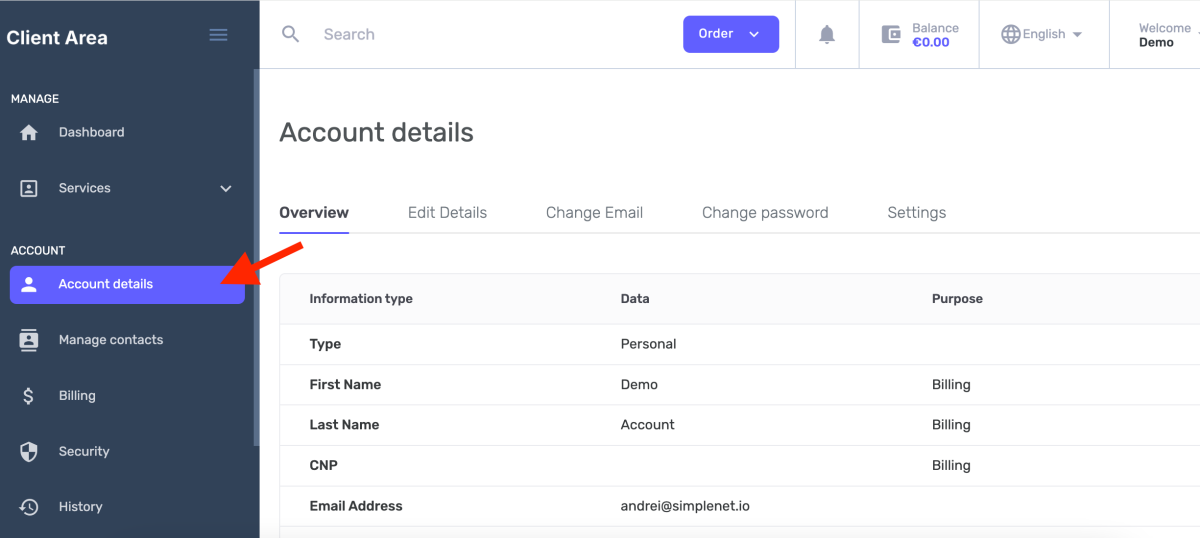
Here you will find all your billing data and personal or company information. To modify them, click the Edit Details button.
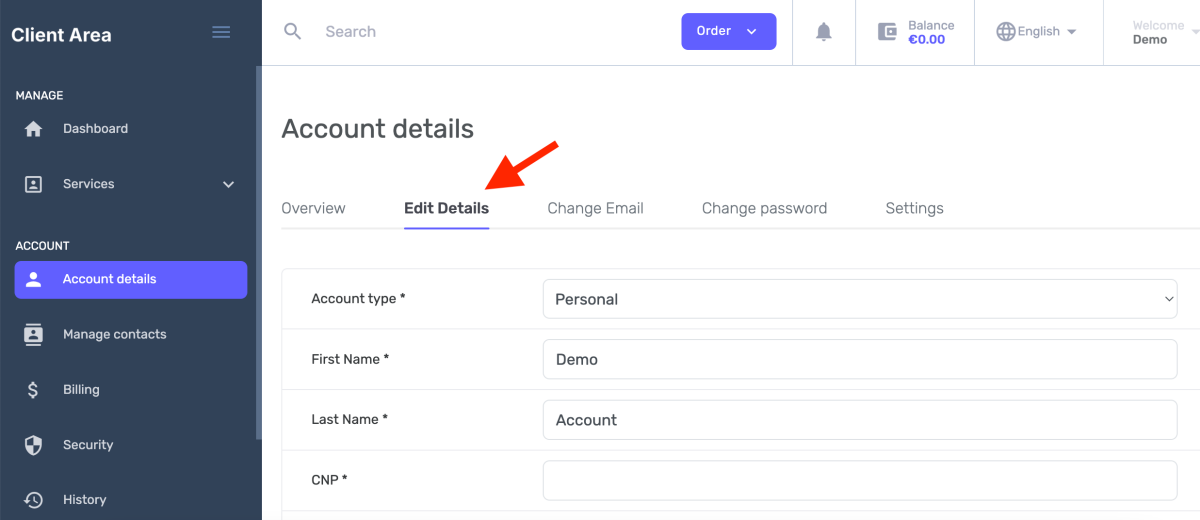
3. Modify the billing information
You have the possibility to change a wide range of information:
- Account Type: You can easily switch from an individual account (Personal) to a company account (Organization).
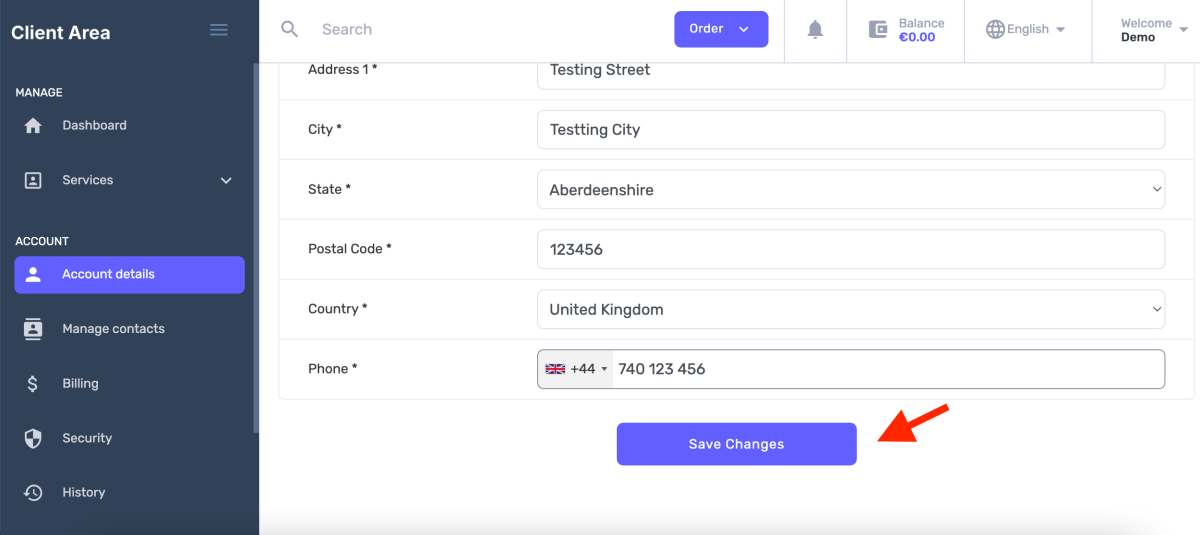
- Company Data: Fill in or update the company name, tax identification number, and Trade Registry registration number.
- Email Address: Change the email address associated with your account.
- Password: You can update your password for enhanced security.
After making all the necessary changes, you have to click the Save Changes button.
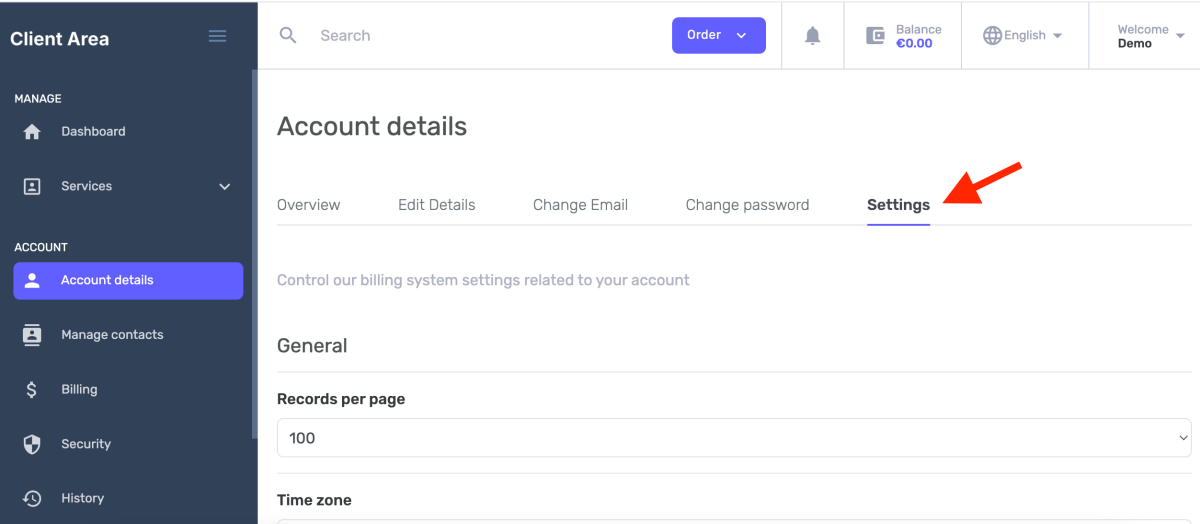
4. Advanced Configurations
In the Settings section, you have additional options to customize your experience:
- Records per page – Set how many items are displayed on a page.
- Timezone: Set the correct timezone for you.
- Default payment gateway: Choose your preferred payment method for future invoices.
- Notifications: Configure which types of email notifications you wish to receive.
- Default nameservers: Set the nameservers automatically used when registering new domains.
After editing all the desired information, don’t forget to click the Save Changes button to apply the new settings.
Now your Kiravo account details are up to date.
Leave a Reply