Update: This guide was initially written for the 7G version. The new 8G Firewall is now available from Perishable Press. If you’re installing the 8G version, you can use the same steps, so this guide remains accurate for the 8G install too.
The open-source 7G / 8G Firewall provides lightweight protection for your server against malicious requests, bots, automated attacks, and other common threats. Installation takes a few minutes, you paste a set of rules into your site’s .htaccess file and you’re done.
Note: The default Kiravo plans use Nginx, and Nginx is not compatible with htaccess. This guide is useful for the Kiravo clients who have managed cloud servers set up with Apache, OpenLitespeed or LiteSpeed Enterprise, web servers who are compatible with htaccess rules.
Start by downloading the 7G / 8G Firewall from Perishable Press’s official website. The download includes a .txt file with all the .htaccess rules you’ll need.
1. Review the firewall rules
Open the .txt file on your computer. These firewall rules block malicious user agents, spam, and other security threats. If you use a tool like Ahrefs, you’ll need to exclude its specific rule so it doesn’t get blocked.
2. Access your hosting control panel
Sign in to your Client Area at kiravo.net. Open Services and select your hosting service. Then click Log in to access the hosting control panel.
3. Edit your .htaccess file
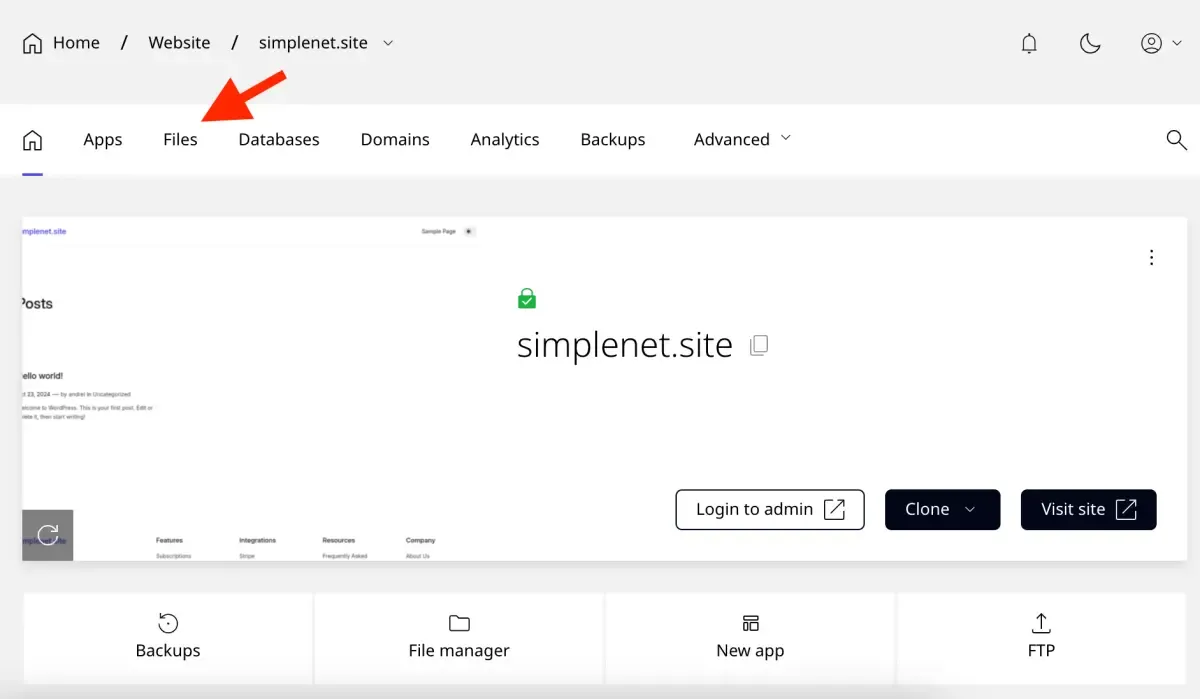
Go to the Files section.
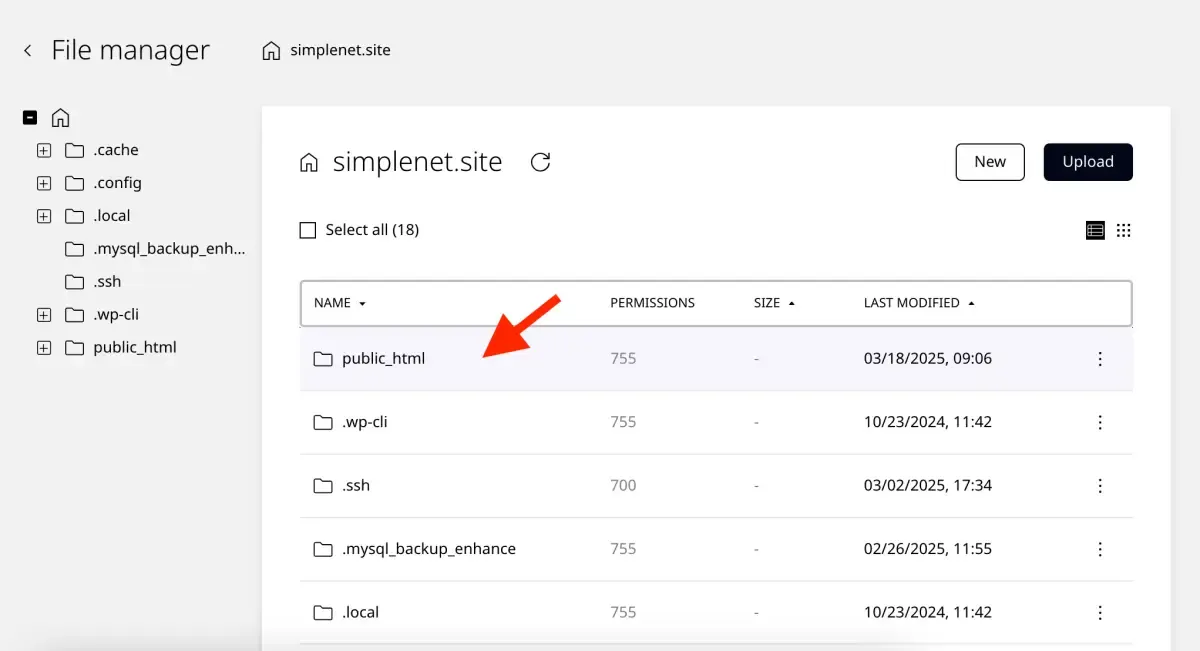
The File Manager opens. Navigate to the public_html directory.
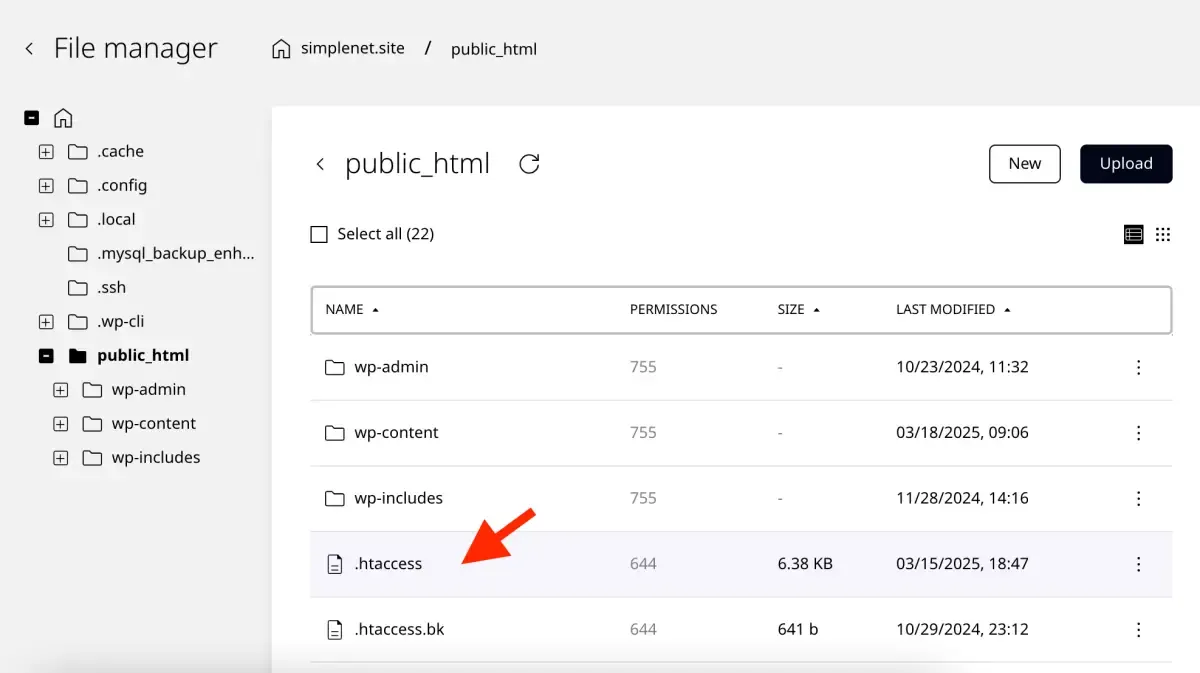
Locate and open the .htaccess file for editing by double-clicking it.
4. Paste the firewall rules
Copy all the rules from the 7G / 8G Firewall .txt file and paste them into your .htaccess file at the top of the document.
For example, the 7G Firewall rules file looks like this:
# 7G FIREWALL RULES START

... [rules from the 7G txt file] ...

# 7G FIREWALL RULES END
For the 8G Firewall, the file looks pretty much the same.
# 8G FIREWALL RULES START

... [rules from the 8G txt file] ...

# 8G FIREWALL RULES END
Use the Save button in the file editor to commit the changes. Your next step is to visit your website to confirm everything still functions properly.
If you made custom changes to allow specific services like Ahrefs, test those tools to confirm they still have access.
That’s it! Your website now has stronger security protection.
If you need any assistance, our support team is available, contact us through your client area for further guidance.
Prefer a video walkthrough? Watch this guide on YouTube.