Account settings
The Settings tab on the Account details page controls how the client area behaves for your account. From here you can adjust:
- General: records per page and time zone.
- Billing: default payment gateway and how invoices are merged.
- Notifications: which email categories Kiravo sends you.
- Domains: default nameservers for new domain registrations.
Each section below is a self-contained how-to. All of them finish with Save Changes at the bottom of the Settings tab, leaving the tab without saving discards your edits.
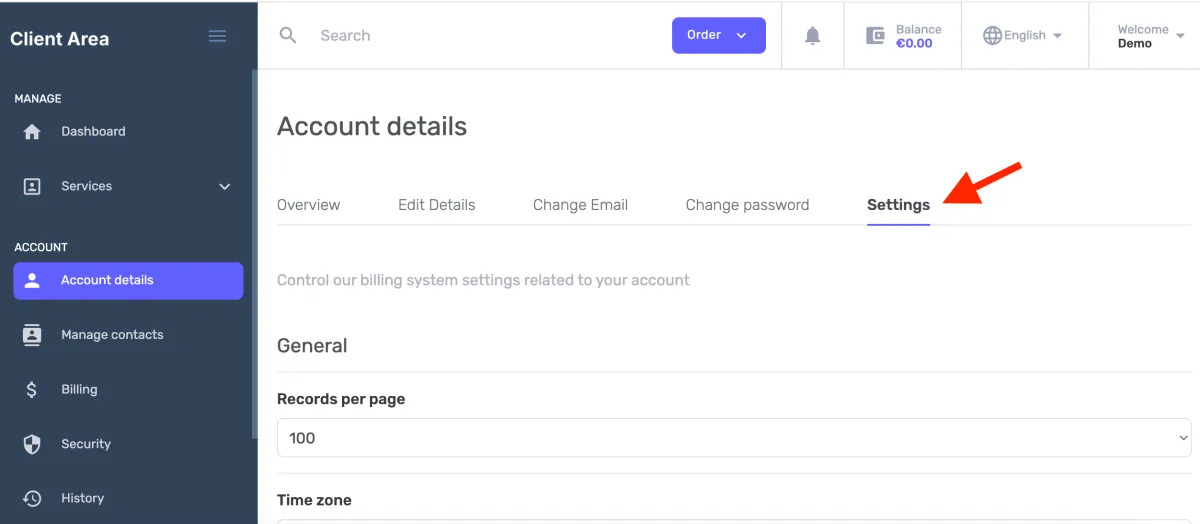
How to set how many items appear in lists
Section titled “How to set how many items appear in lists”- Open Account details in the sidebar, then the Settings tab.
- Under General, set Records per page to 25, 50, 100, or 200.
- Click Save Changes.
How to make dates and times match your location
Section titled “How to make dates and times match your location”- Open Account details in the sidebar, then the Settings tab.
- Under General, set Time zone to your local zone.
- Click Save Changes.
How to set your default payment method
Section titled “How to set your default payment method”- Open Account details in the sidebar, then the Settings tab.
- Under Billing, set Default payment gateway to one of: None, Card – LibraPay, BankTransfer, or Stripe – Auto Recurring.
- To apply this method to services you already have, not just future ones, tick Apply this selection to all existing services.
- Click Save Changes.
How to control whether invoices are combined
Section titled “How to control whether invoices are combined”- Open Account details in the sidebar, then the Settings tab.
- Under Billing → Merge Invoices, choose the policy that fits how you reconcile payments:
- To receive fewer invoices, merge those generated on the same day, or those sharing the same due date.
- To keep one invoice per service, choose Generate separate invoice for each service.
- Click Save Changes.
How to choose which emails Kiravo sends you
Section titled “How to choose which emails Kiravo sends you”- Open Account details in the sidebar, then the Settings tab.
- Under Notifications → Email Notifications, select the categories you want to receive, billing, support, services, domains, and clear those you don’t.
- Click Save Changes.
How to set the nameservers for new domains
Section titled “How to set the nameservers for new domains”- Open Account details in the sidebar, then the Settings tab.
- Under Domains → Nameservers:
- To let Kiravo manage DNS, select Use our default nameservers.
- To point new domains at your own DNS, select Use my custom nameservers and enter them.
- Click Save Changes.
This applies only to domains you register afterward; it does not change existing domains.