How to set your domain's nameservers
Use this guide for a domain managed in the Kiravo client area. If another registrar manages the domain, change its nameservers there and follow Point your domain to Kiravo.
The nameservers decide which provider answers DNS queries for the whole domain:
- Our nameservers delegates DNS to Kiravo. Manage the domain’s DNS records in the hosting Control Panel.
- Custom delegates DNS to another provider. Manage the DNS records at that provider, not in the Kiravo Control Panel.
Change one domain
Section titled “Change one domain”- Sign in to the Kiravo client area.
- Open Services → Domains and click the domain you want to change.
- On Domain details, check the domain name and click Nameservers.
- Choose Our nameservers or Custom.
- If you chose Custom, enter the values supplied by the DNS provider in Nameserver 1, Nameserver 2, and any additional nameserver fields it requires. Use Add more when you need another field.
- Check every value for spelling errors, then click Save Changes.
- Reopen Nameservers and confirm that it shows the saved choice and values.
Change several domains
Section titled “Change several domains”-
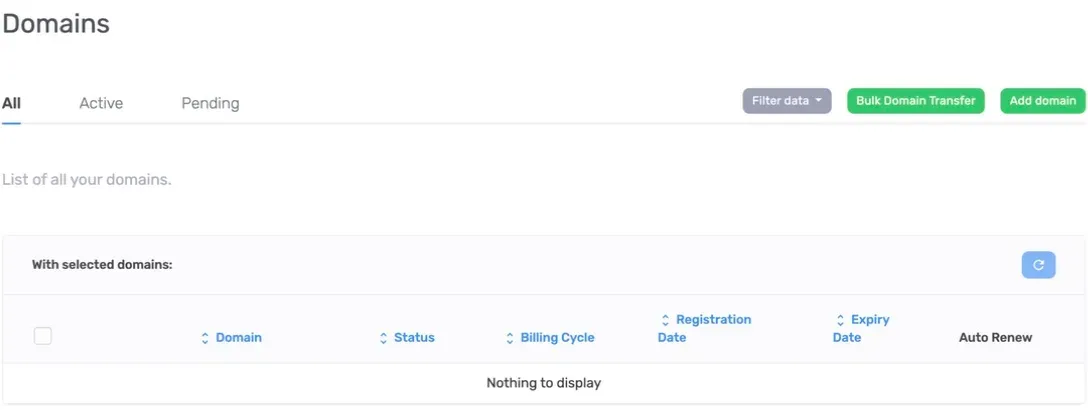
Open the domains list.
-
Tick the checkbox beside each domain that should use the same nameservers.
-
Under With selected domains, choose Nameservers.
-
Choose Our nameservers or enter the custom nameservers, then save the change.
-
Open each affected domain and confirm its saved nameservers.
Nameserver changes are not visible everywhere at once. DNS resolvers can keep the previous delegation until their cached data expires. Avoid changing the values repeatedly while caches update.
If the website or email stops working, compare the saved nameservers with the provider’s exact values and check the DNS zone at the active provider. For help, open a support ticket and include the domain name and the nameservers you intended to use. Do not include account passwords or registrar recovery codes.