Migrate your website to Kiravo
Every Kiravo hosting plan includes managed WordPress migrations at no extra charge. The Kiravo team copies the site, gives you a temporary address where you can check it, and coordinates the final move after you approve the result.
Most migrations are completed within 24 hours after the team receives working access. A large site, restricted source host, complex email setup, or busy ecommerce store may take longer. Keep your old hosting active until Kiravo confirms that the migration and DNS change are complete.
Before you request the migration
Section titled “Before you request the migration”Have the following information ready:
- The domain name of the website you want to move.
- The name of your current hosting provider and the address of its control panel.
- The type of site, for example WordPress, WooCommerce, or WordPress Multisite.
- Whether the domain’s DNS is managed by your registrar, Cloudflare, or another provider.
- Whether you also need mailboxes moved.
- Any timing constraints, such as a launch date or a period when the site receives fewer orders.
Do not cancel the old service or change its DNS before the copied site has been checked.
Request the migration
Section titled “Request the migration”- Sign in to the Kiravo client area and open Support Tickets.
- Click Create new and choose the appropriate support department.
- Use a clear subject such as
Website migration: example.com. - In the message, include the non-sensitive details listed above and mention any part of the site that needs special attention.
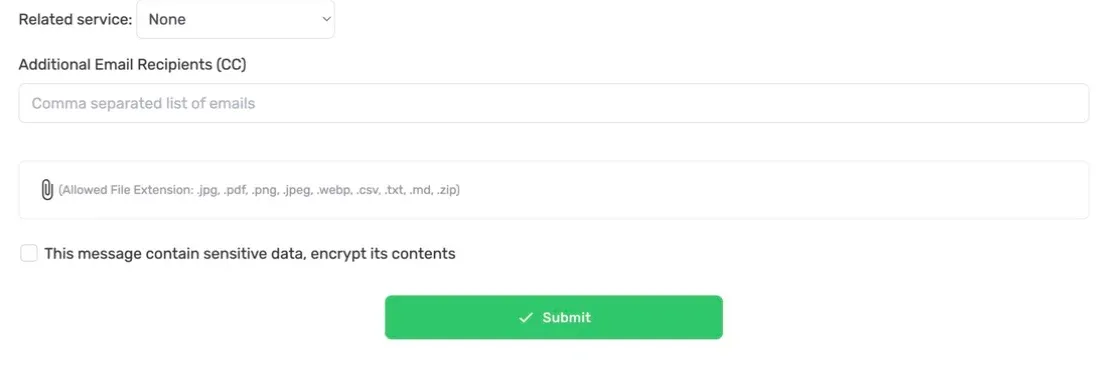
- Enable encrypt its contents before adding credentials or other sensitive information.
- Submit the ticket. The Kiravo team will review the request and ask for anything else needed to begin.
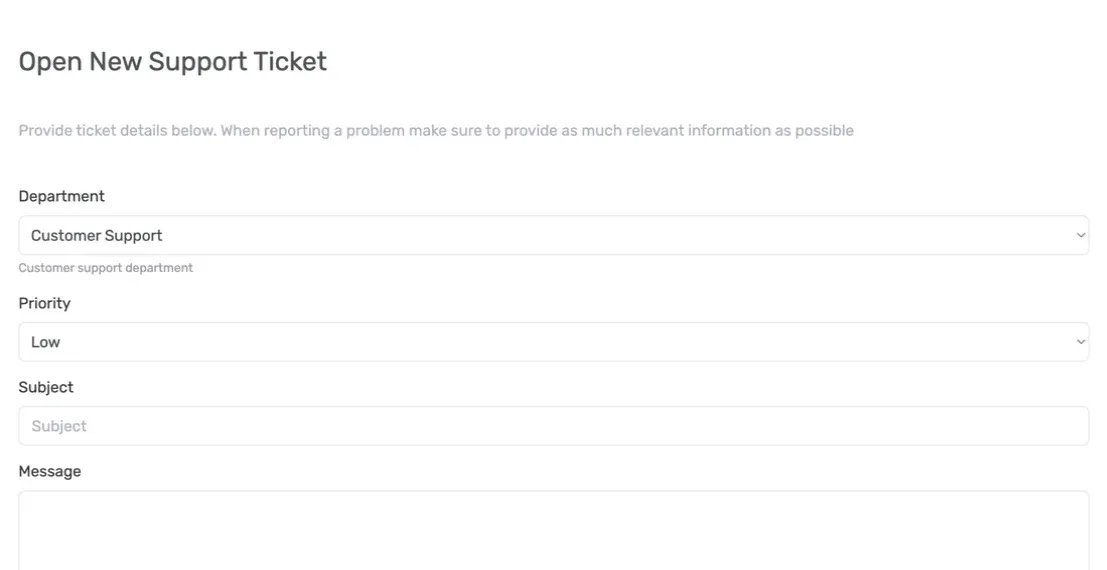
See How to open a support ticket for the fields and attachment types available in the form.
Depending on the source host, the team may ask for one or more of these:
- Access to the current hosting control panel.
- SFTP, FTP, or SSH access to the website files.
- Database or phpMyAdmin access.
- A WordPress administrator account.
- Mailbox credentials when email migration is part of the request.
You do not need every type of access. Provide only what the team requests, and use temporary credentials where your current provider allows it.
What happens during the migration
Section titled “What happens during the migration”- Scope and access check. The team confirms what will move and tests the supplied access.
- Initial copy. The WordPress files and database are copied to Kiravo. Mailboxes are handled separately when they are part of the agreed scope.
- Kiravo configuration. The team connects the database and adjusts the hosting configuration needed by the site.
- Private review. You receive a temporary address so you can inspect the Kiravo copy before changing public DNS.
- Final synchronization. For a site that changes frequently, the team may copy recent orders, posts, uploads, or database changes again immediately before launch.
- DNS cutover. After you approve the copy, you or the Kiravo team update the relevant DNS records. Who makes the change depends on where the domain’s DNS is managed and what access you provided.
Kiravo plans migrations to avoid downtime. DNS caching can still send some visitors to the old server while the change propagates. A busy ecommerce, membership, or publishing site may need a short content freeze or maintenance window during the final synchronization. The team will agree this with you before the cutover.
Check the migrated copy
Section titled “Check the migrated copy”Before approving the DNS change, test the temporary address and include the paths or actions that matter most to your site:
- Open the homepage and several internal pages.
- Sign in to WordPress and confirm that recent content and media are present.
- Submit a contact form and check where the message arrives.
- For ecommerce, test the cart, checkout, payment integration, customer account, and latest orders.
- Check redirects, downloadable files, scheduled tasks, external APIs, and webhooks you rely on.
- If mailboxes are included, compare folders and recent messages.
Reply to the migration ticket with any problem you find. Include the affected URL, the expected result, and what happened instead. Do not make the DNS change until the copied site is ready.
Point the domain and verify the live site
Section titled “Point the domain and verify the live site”The Kiravo team will tell you when the site is ready for its DNS cutover. If you manage the domain yourself, follow Point your domain to Kiravo using the exact nameservers or server IP shown in your account.
After the change:
- Open the site in a private browser window and check the main journeys again.
- Confirm that HTTPS loads without a certificate warning.
- Check forms, payments, logins, scheduled jobs, integrations, and incoming email where applicable.
- Avoid cancelling the old hosting until the Kiravo team confirms that the migration is complete and the domain resolves correctly.
- Replace or remove temporary accounts and passwords created for the migration.
You can then access the Kiravo control panel to manage the migrated website.
If you still see the old site
Section titled “If you still see the old site”DNS changes take time to reach every resolver. If one network shows the old site while another shows the Kiravo copy, wait for propagation and test again. Do not repeat the DNS change or delete the old site while propagation is still in progress.
If the problem continues, reply to the existing migration ticket. Keeping the conversation in one ticket gives the support team the access history, migration notes, and checks already completed.